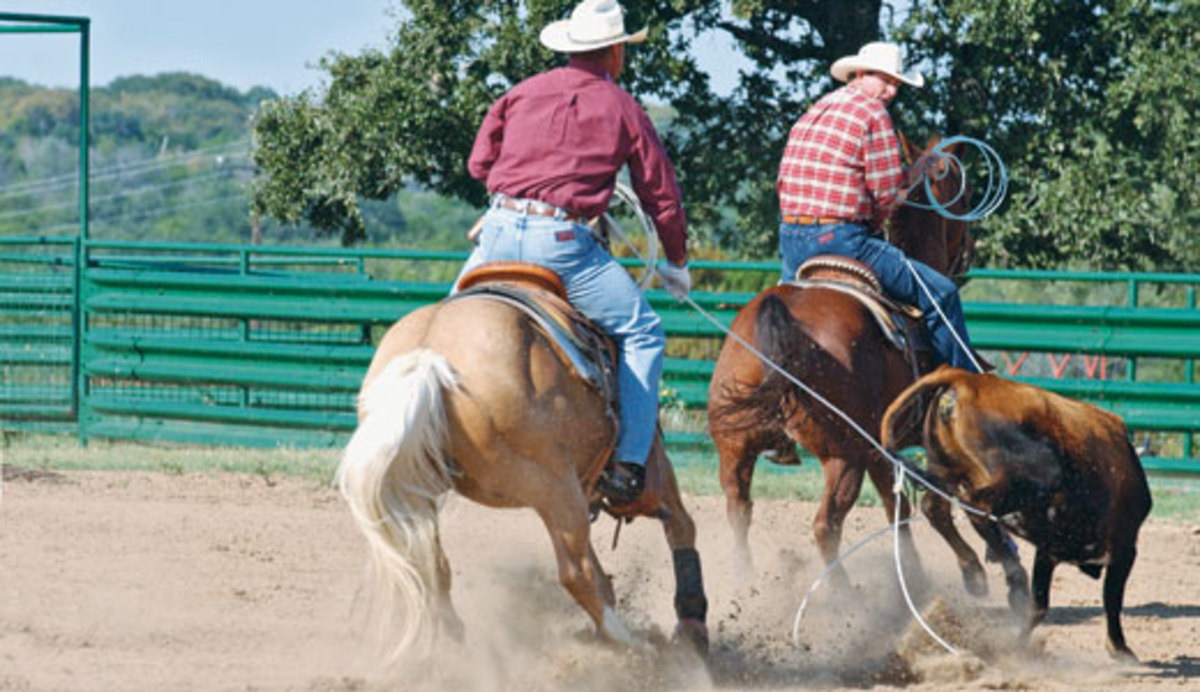
Loop size is important, and it seems like something I’ve been running into a lot here lately at schools is having to tell people that their loops are too small. Not having enough loop can cause bad habits, like leaning over when you throw or throwing your rope too much instead of placing it down there where it needs to be during delivery. What you start out with and what you feed your loop out to determines your loop size when it’s time for delivery. So things like how much you feed your loop need to be factored in when deciding how much loop to start with.

If you look at action shots of the top ropers or at videos of them roping, you’ll notice that the majority of them use good-sized loops. Look at the size of their loop just before they deliver, and how big it is when it lands at the completion of the delivery. The pros use a good-sized loop, because a loop needs some width and height to give it a good chance for that steer to go in it.

The size of loop you start out with, how much is between your hands and how much you feed your loop before delivery is what we’re talking about here. Some people start with a smaller loop and more slack between their hands, which is fed into the loop to get the loop size they need. Others start with a bigger loop and less slack between their hands. The point that you feed up to is where you’ll be rolling your hand over and grabbing your slack when the steer jumps in the loop, which is with about a foot to a foot and a half of rope between you.

I start with quite a bit of slack between my hands, and when my loop’s all fed up, with my hand stretched out in delivery position, the bottom corner of my loop will graze the ground about four to five feet in front of my horse’s right front leg, which is where the steer’s feet would be. Without turning loose of my loop, I can graze the dirt. When my loop’s that big, I can actually rope a steer without turning loose of my loop. I do that at my schools, roping the dummy and sometimes roping a steer, to show students that they could actually rope a steer without turning their loop loose.

I want people to see that they can hang on longer than they think they can, which gets your loop where you want it to go so much more consistently. That gives you a lot more control, which is why the pros do it that way and why they consistently hit their target.

Another exercise I have my students do at schools is rope a dummy horseback, with the dummy’s feet up off the ground, and without leaning over rope the feet without ever turning loose of their loop. I have them scoop the feet up, to not only get the proper amount of loop size, but learn to guide the top and bottom parts of the loop in the specific areas they need to go to catch the feet.

I have students check their own loop size by building their loop, feeding it up like they’re going to throw, and then grazing the ground with the bottom portion of their loop four to five feet in front of their horse’s right front leg. Doing that lets them see for themselves if their loop has enough size to reach that area, so this demonstration helps them come up with the particular loop size they need.


