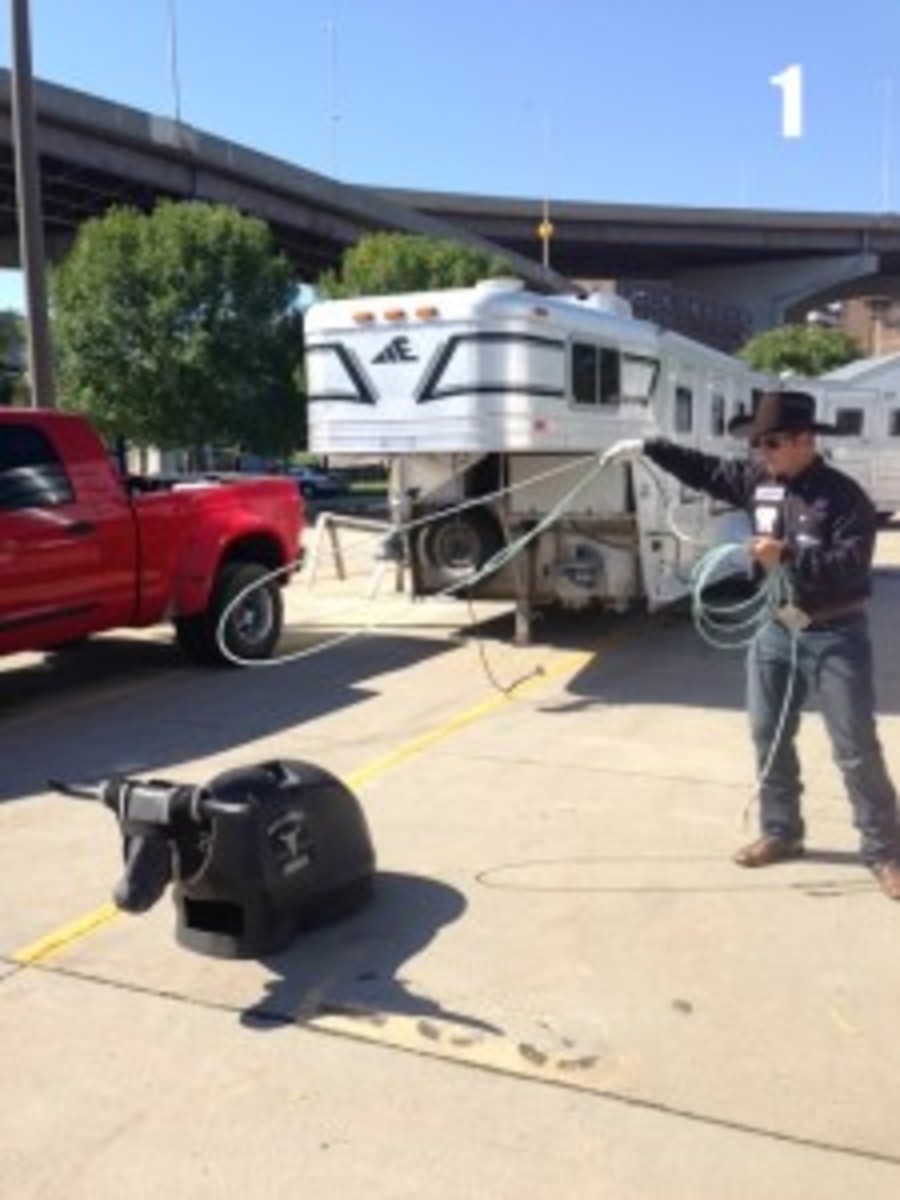
Everything I do to change or improve my roping starts on the ground. Once I have confidence on the ground I progress to the roping machine. After the machine, I move to a slow controlled practice. If I feel everything is progressing smoothly I transition to “full-contact” practice, and it’s only then I feel fully prepared for competition. I feel that you can not accurately experiment unless you are in a controlled environment. Practicing on the ground with a dummy/sawhorse you can create a great environment to break down your roping because you are limiting the variables. For example?your horse, your partner and his horse, and the steer are taken out of the equation. This week, lets talk about a high-percentage loop. Essentially, “you can run more cattle through a bigger gate”. I’m not saying get a bigger loop. I’m saying open your loop up more. The first step is to have your swing pointed in the direction of your target.

Heading:
I want my rope swinging directly toward the the horns. (Image 1)Right above or right below the horns is fine, but the momentum of your swing needs to be pulling toward the the horns. I open my loop up and “allow” it to catch. I do not ever “force” a throw. My delivery is merely the continuation of my swing. I keep my bottom strand (which is controlled by my pinky finger) low so it goes under the right horn and I keep my top strand (which I control with my index finger) high so that it swings over both horns. Also, make sure that you either maintain the speed of your swing or slow it down slightly. Slowing down slightly will allow your loop to open more.
Speeding it up will only cause your loop to close down or get more narrow. The best drill to practice this is to swing through the horns and catch the head without releasing your loop. (Image 2)This may seem easy or boring, but do it 10 times in a row then go ahead and rope it a few times. See if you notice the difference. It will help you open your loop up.

Heeling: Swing directly over the back of the the dummy. (Image 3) (Note: If your rope is really level, because of the height of your sawhorse, you should swing behind the dummy at hock level and step into the sawhorse as you deliver.) Your delivery is much the same heeling and heading when it comes to speed. You need to slightly slow down your delivery so that your loop will open up. If you rush or speed up your delivery it will cause your loop to close (top and bottom strands become close together) and your percentages will be low.

Keep your bottom strand (pinky finger) low, and your top strand (index finger) level with the hocks. I don’t necessarily try to pass my bottom strand under both legs on my delivery every time, but I do try to always bring my top strand to the right hock. The placement of the bottom strand usually takes care of itself if I just keep it low. If the steer, or sawhorse in this case, is high then the bottom strand passes through (an air-loop style). However, if they are low and close to ground it will stop my loop (more of a trap style loop). It is a great drill to rope the sawhorse elevated off the ground with out releasing your loop. (Image 4)This helps you with both top and bottom strand placement and encourages you to hold onto your loop all the way to the steer. Do this 10 times in a row then throw or release a few loops. Take note of how much better you finish your delivery before reaching for your slack.
Let me know what you think of these drills.

Rope Better, Live Better,
Buddy Hawkins


